Protect Your Dog’s Paws with Homemade Balm
Protect Your Dog’s Paws with Homemade Balm
Protect Your Dog’s Paws with Homemade Balm
Protect Your Dog’s Paws with Homemade Balm
3. Januar 2025
Feedback: 0
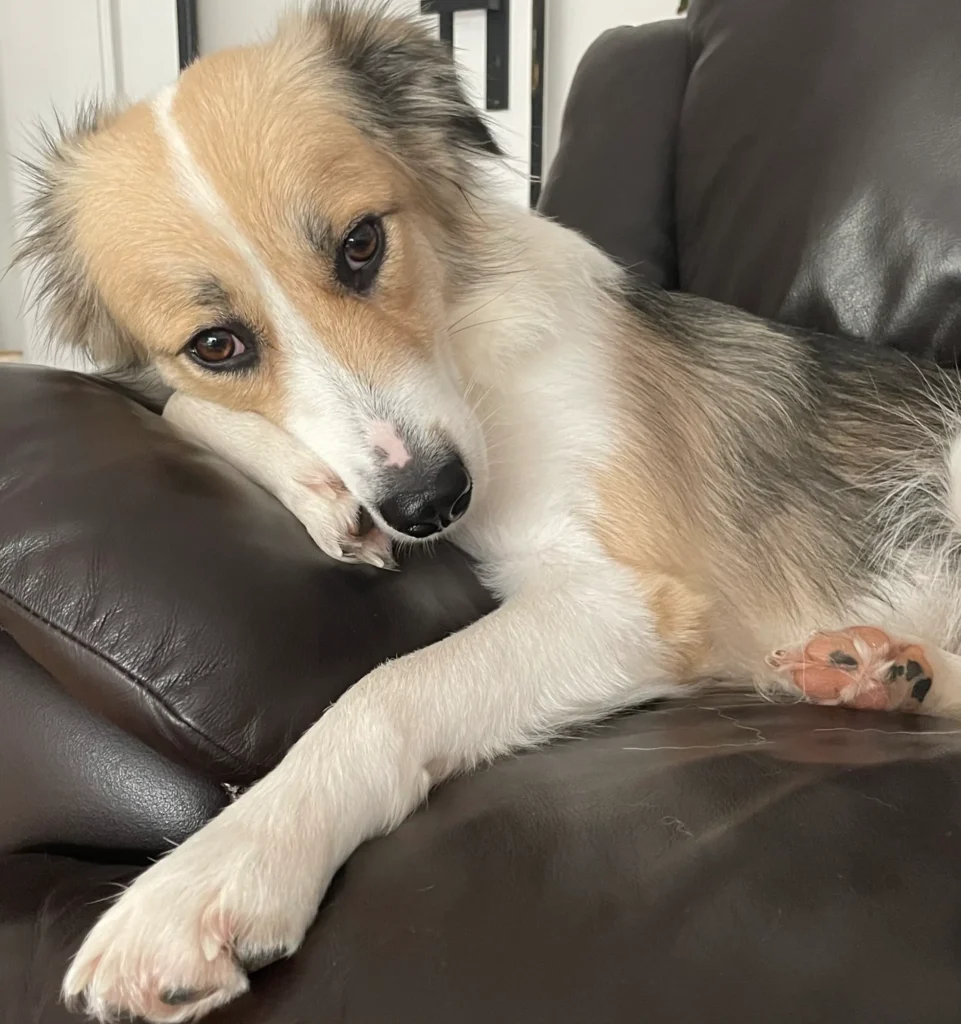
It’s cold outside, the ground is frozen or covered in grit, and after the walk, your furry friend comes home with dry, cracked paws. Not only does it hurt your four-legged companion, but it also breaks your heart. That’s exactly how I felt when Bailey started licking her paws and looked visibly uncomfortable.
Chemical care products were out of the question for us, so I decided to take matters into my own hands: a DIY paw balm! Not only is it sustainable and natural, but it’s also a great opportunity to do something good for my dog. And the best part? It’s super easy to make!
Why Should You Make Paw Balm Yourself?
1. Natural and Safe Ingredients
When you make paw balm yourself, you control the ingredients. Many commercial products contain harmful chemicals, which are especially concerning since dogs often lick their paws. By using natural ingredients like beeswax, coconut oil, or shea butter, you ensure your dog’s safety.
2. Customization
Every dog is different, including their skin. If your dog has sensitive paws or an allergy, you can tailor the recipe. For example, our dog Bailey responds particularly well to almond oil, while others may prefer olive oil. You can create the perfect balm for your dog’s unique needs.
3. Cost Savings
Store-bought natural balms can be expensive. The basic ingredients like beeswax or coconut oil are relatively inexpensive and can be purchased in bulk. By making your own, you’ll save money in the long run.
4. Eco-Friendly
By avoiding plastic packaging and using reusable jars, you reduce waste and contribute to environmental protection. You also avoid industrial production processes and long transport distances. So, you’re not only protecting your dog’s paws but the planet too.
5. No Unnecessary Additives
Commercial paw balms often contain additives like parabens, silicones, or artificial fragrances, which can cause skin irritation in your dog. By making your own, you avoid these and use only natural, nourishing ingredients that protect and soothe your dog’s paws.
6. Freshness and Quality
Homemade paw balm is always freshly made, unlike store-bought versions that may have been on shelves for long periods. Freshness ensures that the natural ingredients retain their full benefits for your dog’s paws.
7. Fun and Creative
Making paw balm is not only practical but also creative! You can experiment with different oils and butters to find the perfect formula for your dog. It’s satisfying to create a product tailored specifically to your pet’s needs.
8. More Control Over Care
When you make paw balm, you have complete control over the quality and ingredients. You know exactly where the ingredients come from and how they’re processed, giving you peace of mind knowing that only the best ingredients are being used.
Why Natural Ingredients Are Important
Dogs often lick their paws – whether for cleaning, boredom, or stress relief. Therefore, it’s especially important that your paw balm is made from natural and non-toxic ingredients. When you make your own, you know everything in it is safe for your dog. Additionally, these natural ingredients provide extra benefits for the care and regeneration of their sensitive pads.
Benefits of the Ingredients:
◉ Beeswax: Creates a breathable barrier that retains moisture and protects the paws from external influences like salt or heat.
◉ Coconut oil: Provides intense moisture and has natural antibacterial properties that help prevent infections.
◉ Shea butter: Rich in vitamins A and E, it supports skin regeneration and keeps pads soft and smooth.
◉ Olive or almond oil: Soothes dry or irritated skin and helps heal small cracks or injuries.
With these ingredients, you know the balm will not only protect but actively contribute to your dog’s paw health – all without harmful chemicals.
DIY Recipe: How to Make Paw Balm Yourself
Here you will find a simple recipe for a homemade paw balm made from natural and safe ingredients. It moisturizes, protects and cares for sensitive dog paws.
| Cook Time: | 0 min |
| Prep Time: | 15 min |
| Total Time: | 45 min |
| Category: | Dog care |
| Cuisine: | Dog life |
| Yield: | 2 |
| Method: | Melting & mixing |
2. Water bath: Heat the bowl in a bain-marie at a low temperature until all the ingredients have melted.
3. Add the oil: Remove the bowl from the heat and stir in the olive or almond oil.
4. Fill: Pour the mixture into clean jars or metal tins
5. Leave to cool: Leave the balm to cool at room temperature until it solidifies.
* 2 tablespoons coconut oil
* 2 tablespoons shea butter
* 1 tablespoon olive oil or almond oil
Using Paw Balm
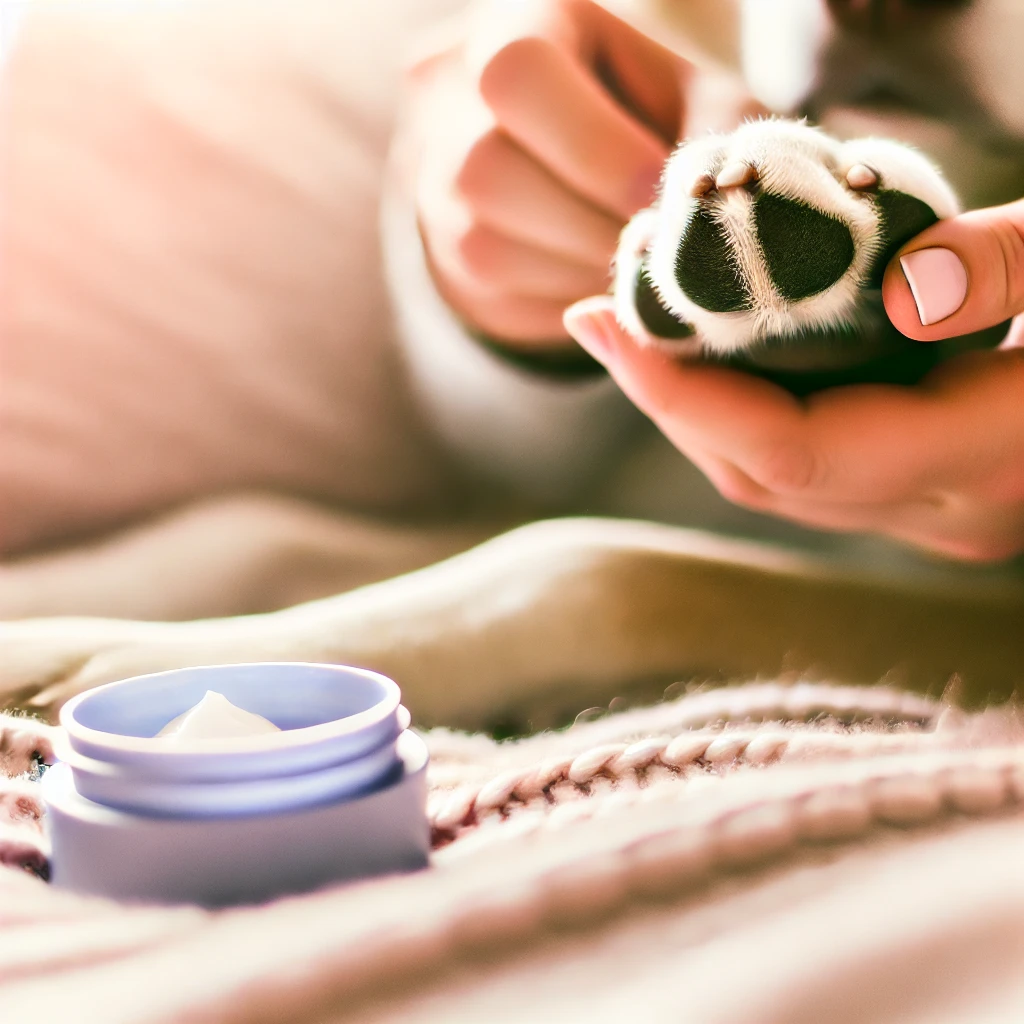
◉ Before Walks: Apply balm to your dog’s paw pads to protect them from salt or hot asphalt.
◉ After Walks: Wipe paws with a damp cloth and massage the balm into the pads to soothe and regenerate the skin.
◉ For Dry or Cracked Pads: Apply 2-3 times daily until the skin heals.
Additional Paw Care Tips
◉ 1. patience during application: Not all dogs love having their paws creamed. Reward your four-legged friend with a treat to make the routine more enjoyable.
◉ 2. Test for tolerance: Apply the balm to a small area first to make sure your dog is not allergic.
◉ 3. Paw check: Regular paw checks help to detect problems at an early stage.
◉ 4. DIY variation: Add a touch of calendula oil – it supports the healing of small wounds.
Storage and Shelf Life
Store paw balm in a cool, dry place. It can last 6-12 months in a tightly sealed container. Check for changes in scent or consistency, and replace if needed.
Conclusion: Protect Your Dog’s Paw
By making your own paw balm, you ensure the best care for your dog, using only natural and safe ingredients. It’s easy, cost-effective, eco-friendly – and fun! Try it and give your dog the care they deserve.
Have fun copying it!
Remember: Homemade is always made with love! 😄 Tell me in the comments how your DIY project for your dog turned out – mistakes count too! And if you’re looking for more creative DIY ideas for life with your dog, expatriate living, and sustainable living, just stick around!
Your Bailey and her owner.
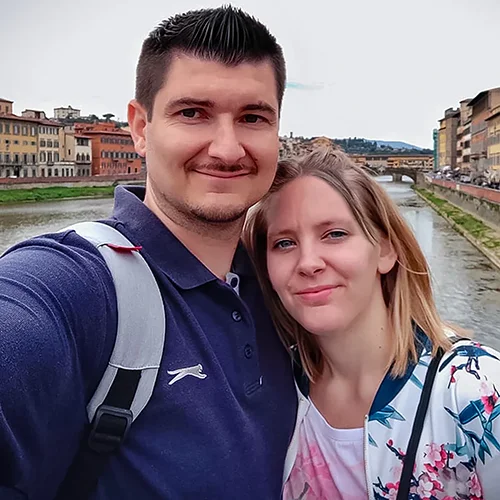
Wir sind zwei deutsche Auswanderer und auf emigres-life nehmen wir Dich mit auf unsere Reise in ein neues Leben.
In unserem Projekt schwingt das Pendel meist in Richtung stressig oder chaotisch und weniger in Richtung tiefenentspannt.
Wenn du also wissen willst, in welches Fettnäpfchen wir als nächstes treten oder welche Hürden vor uns liegen und wie wir sie überwinden, dann bleib dran.
Nächster Blogpost
Heiße Schokolade – Die süße Versuchung
Vorhergehender Blogpost
Folge uns auf:

Kontakt
Artikel